
For this year's Thanksgiving, held at my brother's, we were asked to bring a salad, mashed potato and beer. My wife took on the mashed potato responsiblity and I got the salad. I didn't want to bring a plain tossed salad, so I decided to try the seared tuna salad that I enjoy at restaurants.
A friend of ours from Japan was visiting over the Thanksgiving as well, and this was going to be his first turkey ever. Needless to say, he loved the whole Thanksving meal, especially the gravy, which he's never had before. For the rest of his stay, he requested leftover mashed potato and gravy for breakfast every day. He even bought packets of powder gravy as souvenir.
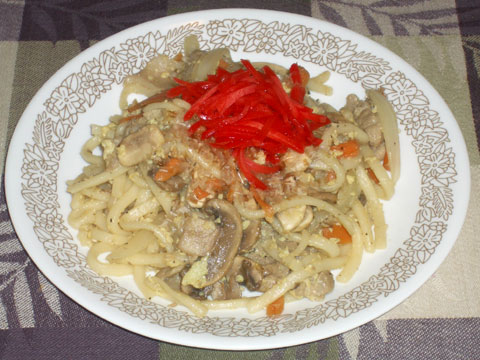
IN JAPANESE: Maguro Tataki Salad
CATEGORY: Seafood
COOKING METHOD: Fresh
DIFFICULTY: Medium
SERVES: 4 people
LENGTH OF TIME: 10 min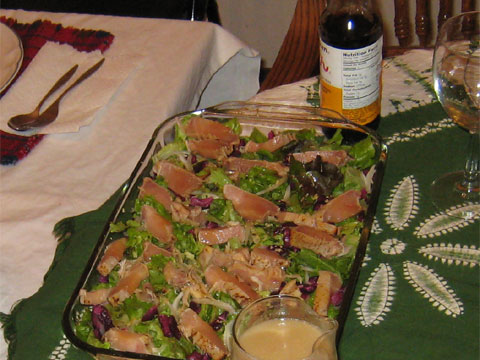 INGREDIENTS:
Seared tuna (1/4 lb)
4-8 leaves of leafy lettuce
1/8 onion thinly sliced
2-3 shiso leaves
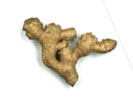
1 half inch piece of ginger (see TIP: Ginger)
2 TBsp Japanese pickles - purple kind (optional)
4 TBsp of Ponzu dressing
HOW TO:
First, rinse enough lettuce for four people. If the leaves are huge, one leaf per person should do it. Otherwise, maybe 1 and half leaf per person. Rinse, pat them dry with a paper towel, and tear them into bite size with your hands and evenly spread on a plate or serving dish.
Slice some onions really thin and soak them in ice cold water to make them slightly more crispy. Place them evenly on top of the lettuce.
Recently a lot of supermarkets (at least in Seattle area) are carrying seared tuna in the seafood section. The only problem is that a lot of times, those are heavily flavored (with salt and pepper stuck to the tuna). If you like those kind, use those, if not, look for unflavored seared tuna or make one yourself.
The most difficult thing about making this salad is cutting the tuna. It's cooked on the outside and raw in the inside, so if you cut with jagged edged knife (like a steak knife) you could crumble a nice piece of fish. The key is to cut the fish in one pulling motion instead of going back and forth with your knife. Each slice should be about 1/4 inch side (or if you prefer a thicker cut, by all means go for it). Neatly place them on top of the salad.
If you can get purple Japanese pickles, spread those around on the salad. Also, cut the shiso leaves into small pieces and spread those around. Shred a piece of ginger on top of the salad (make sure you do it evenly so you don't have one area covered in shredded ginger!)
Pour about 4 TBsp (about 1 TBsp per serving) over the salad, and you are ready to serve!


 INGREDIENTS:


